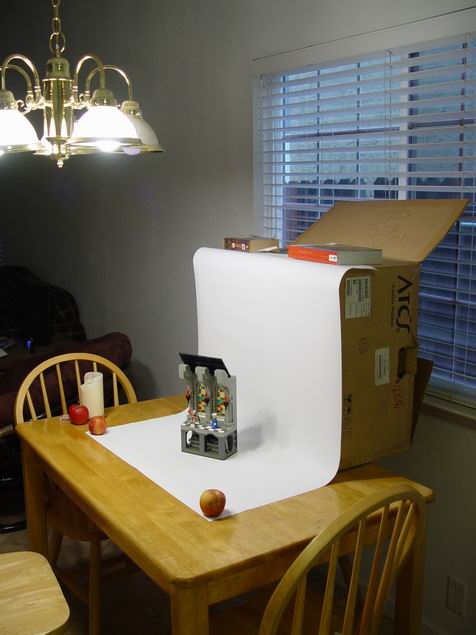
Just whipped up a tutorial for you, (with images!).
1. Create a new document and fill the background with a flat shade of your choice. This will be the background that goes into your cut out image.

2. Create some 'foreground to transparent' style gradients, where it fills from an opaque color and fades into the existing color. Drag one from the top to the bottom, or near it, and another from the bottom up.

3. If the gradient shifts too quickly, you can apply a few gaussian blurs at a high setting.

4. Adjust the hue if you need to at this point. In some programs, you can adjust individual sections of the spectrum.
5. Create a second document. Either find some cloud photos online, or draw them by hand with an airbrush, and lay them out so they fit the size of your background. Color is not important here since we just want a texture.
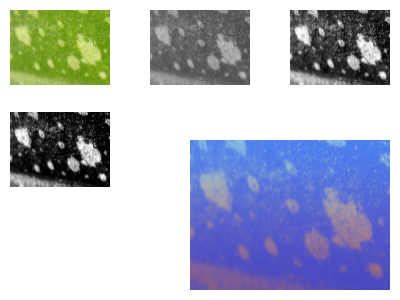
6. Desaturate the clouds, and use an 'auto level' adjuster to turn the sky black. If the sky doesn't turn black, use brightness/contrast or levels to get a very strong pattern with decent transition (gray shading).
7. Copy the 'cloud' image, go to your original background document, and try to access the selection mask mode and paste the cloud texture in this channel. (see if your program can do this) In the photo above, the blue is mask channel color and has no effect on the image.
8. Exit the mask mode, and you should have a selection in the shape of your clouds. Use color adjustment tools, airbrushes, or fills to brighten these sections. If the selection is wrong, you can 'invert selection' in some programs.
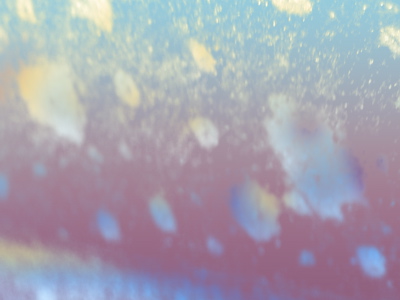
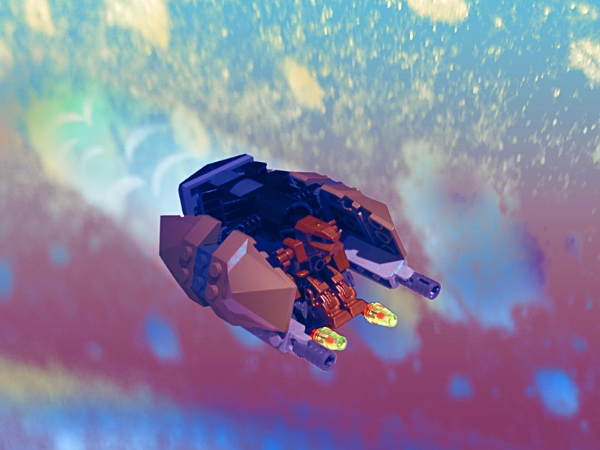
9. At your option, low opacity gradients applied over the cloud selection can give you a realistic atmosphere effect. You can also deselect and apply a gradient over the entire image to do this as well.
10. Deselect everything in the backround. At your option, use a noise filter to create a very tiny amount of noise so that you look like you have faint photo grain on the clouds that matches your photo.
Now, if you've cut out the image, you can set it on a layer, and slip this background underneath. Voile!!
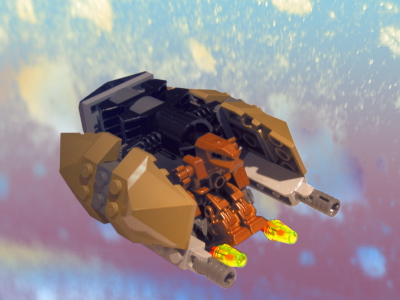
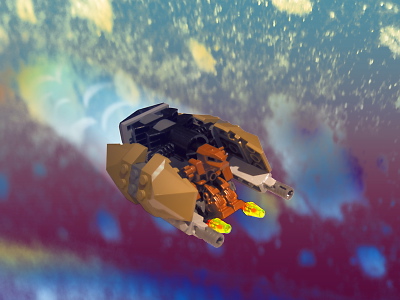
Practice makes perfect!
As for selecting your model from the background, I use the mask mode and a brush to draw an outline, then fill one side with a paint fill.