DIY Diffuser/Light Box Discussion

Discussion of photography, editing and publishing techniques
Post Reply
User avatar
Peppermint Pig
candied swine
Posts: 630
Joined: Sun Feb 26, 2006 12:42 pm

DIY Diffuser/Light Box Discussion

Post by Peppermint Pig »

After reading comments from others such as castlestrike666 who are in need of solutions to photograph larger mocs, I decided to get a few more photos of my light diffusers together and open this up to discussion on how best to deal with larger MOC photography.

First off, a small to medium solution: Buy more lights and grab some readily available items to diffuse the light. The Poor Man's Lighting Setup:

Image

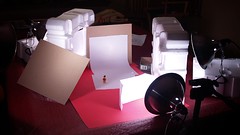
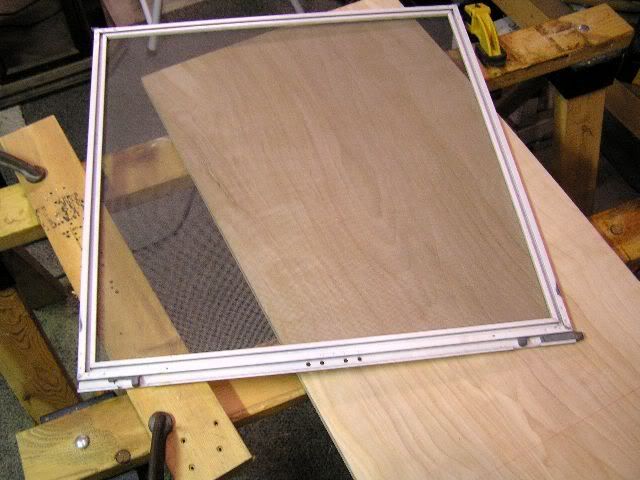
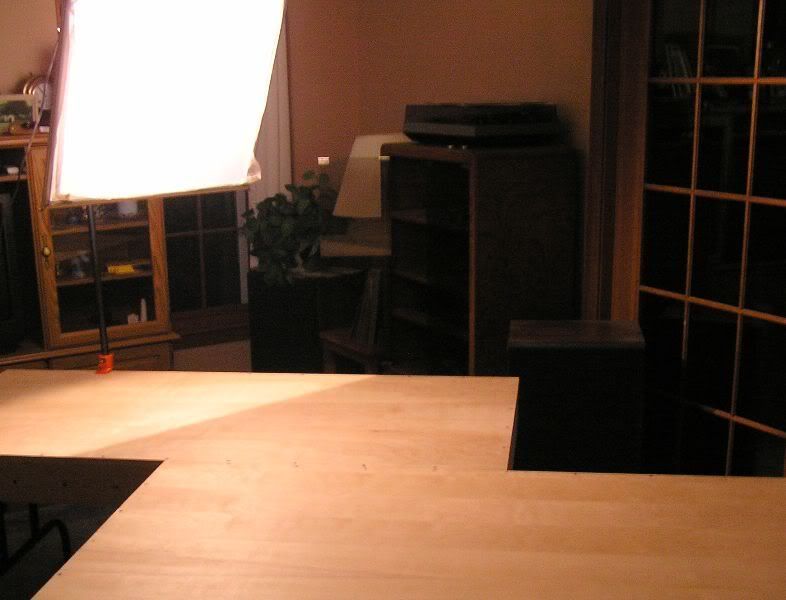
This next solution is one I created when building my hobby tables: DIY Light Diffuser boxes. These can be used for portraits, as well as medium sized MOCs (anything under 4'x4' in area is ideal). I built two of these:

Image
Image

For more images, navigate the photostream.

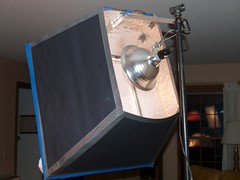
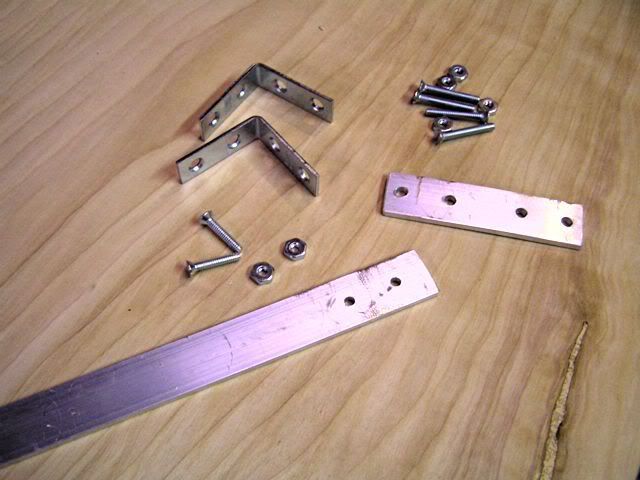
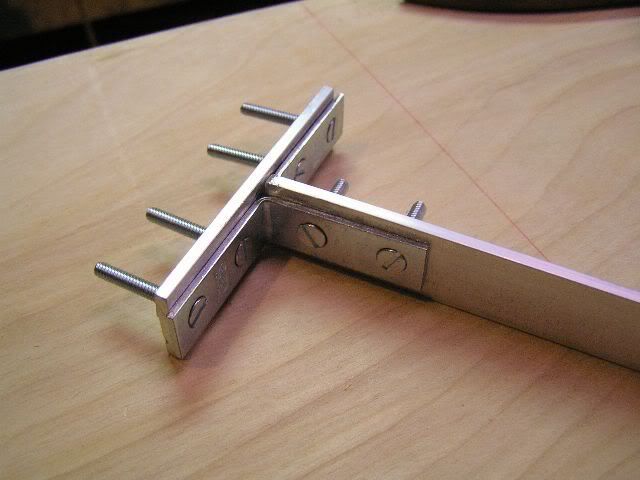
For pictures of the build process, here are those:

Image Image

Image Image

Image Image

Image Image

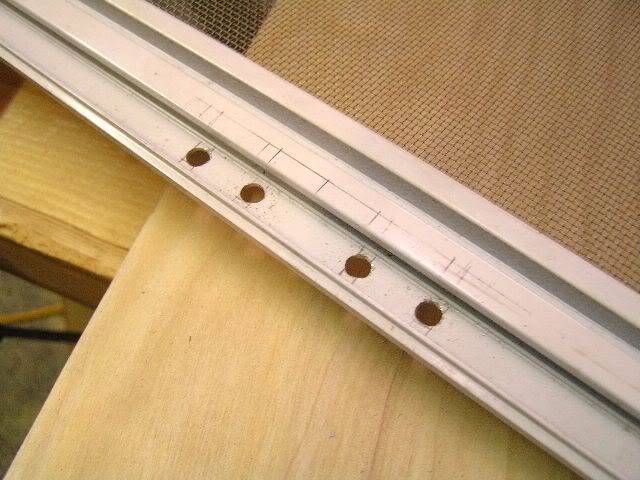
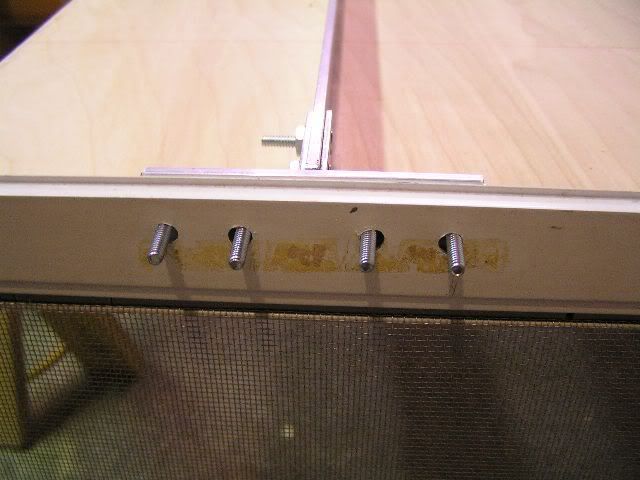
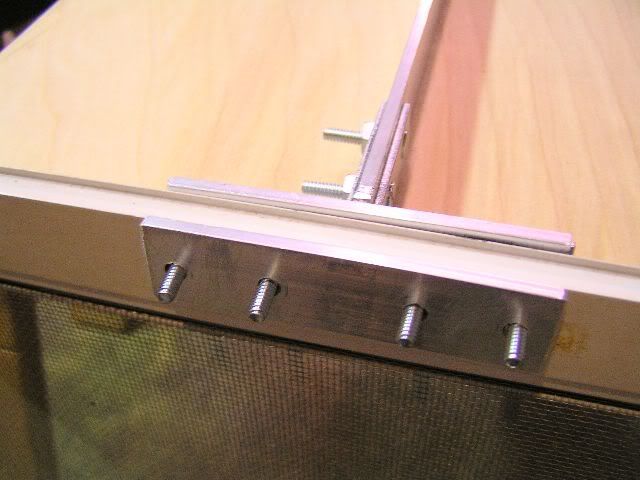
Sorry, there are no pictures of the hood design and assembly. Not all screens are built to the same size, so you will need to measure and cut based on your screen's particular dimensions. The top sheet on my box is attached at a 90 degree angle, and everything else conforms to that with a smaller opening in the back.

My advice for people doing large MOC shooting is to buy some posterboard for backdrops. Colored or white paper is fine, though white can be used for reflecting light as well... just pick what best matches your project. I keep a few sheets of blue, green, and red/yellow reversible sheets on hand.

Alternatively, you could purchase a roll of white butcher paper and tape some of it together and tape or hang it somewhere for a larger backdrop.

If you are really strapped for cash, just create a paper box and tape it around the flash on your camera. You'll impress yourself with the results I imagine!!


My next project will be to build a giant light reflector/diffuser big enough to be used with a large Lego creation such as a big castle or city. Feedback or suggestions are welcome!

My current belief is that it can be done economically using hemmed ripstop fabric and tent poles (fiberglass poles). I imagine it'd look like a large pringle chip that I could bend and wrap around an area so wide-scale diffusion could be achieved. I've yet to source the materials, but if anybody knows where to get some of these things, I would appreciate that.
User avatar
deathdog1
Apprentice
Posts: 182
Joined: Sat Mar 22, 2008 8:57 pm

Post by deathdog1 »

Actually, you might only need to build a third defuser similar to your others and have a perhaps slightly more powerful bulb in it. Then you can set up three-point lighting similar to TV or movie shots. This might be helpful: http://www.3drender.com/light/3point.html

btw, your defusers look good -- thanks for posting this. I have a media class I teach to eighth graders and I'll use this to build some more studio lighting if we need it!
"Always remember to pillage BEFORE you burn!" http://glomshire.thecomicseries.com/comics/
User avatar
Peppermint Pig
candied swine
Posts: 630
Joined: Sun Feb 26, 2006 12:42 pm

Post by Peppermint Pig »

Sounds great deathdog1. Thanks for posting that link, hopefully people who are unfamiliar can now see how to light their scenes. :)

It shouldn't be too hard to find window screen frames. A hacksaw and a file are handy for fabricating the aluminum rod plate, though I resorted to an electric saw to save time. You will need a drill bit for metal to bore the screw holes. Measure twice, cut once. :)

The reflective paper box lined with aluminum foil is essential, of course. Else it's simply not worthwhile to create as you won't get a strong and even light quality from it.

I do not know how much the pipe cost, but my 1/2 pipe clamps were about $12 USD a piece. Black metal pipe is super heavy, but a sturdy chair may be sufficient for mounting it. Because it's heavy, it has a nice center of gravity for attaching items to it.

As for building another one and adding a stronger light, I'm not inclined to do so. I don't have a lot of space to work in so I want an even better solution.

Clamp lights were not meant to take very strong bulbs. I have no problem putting more than one clamp light behind a diffuser, with a decent increase in performance.

I was never much of a fan of PVC tubing since that's also a bulky solution.

Using fiberglass tent poles and rip-stop fabric alone (maybe with some joint pieces), I may be able to create the most flexible solution, figuratively and literally. I would be able to set it on the table, or hang it with some string or fishing line, I imagine. The other positive about this solution is being able to bend it around a whole city.

The constant obstacle though is sufficient lighting and diffusing quality. If you're shooting light through ripstop, much of that light is going to bounce back, so you'll need something reflective to redirect it. The larger the diffuser, the harder the challenge becomes.

One solution is to simply reflect light. For this, its probably best to purchase a coated reflective ripstop fabric. One site quotes the price at around $13 per square yard (yikes). I'm sure it's beautiful to see in action. :)

The only problem with reflecting is that you have to avoid direct light from hitting the lego model, so you may need some background room to set this up. The further away you place your lights, however, the more even the reflection will be, which is desirable and conflicts with the goal of creating a smaller footprint for your lighting equipment altogether.

Anyhow, I still haven't acted on the project as I've been busy and still haven't fully shopped around for prices, but I will post again when I do make progress.
Post Reply