I've been experimenting with making a custom centaur using the body of a Lego horse. I figured I'd share the process with the forum.
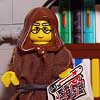
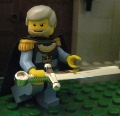
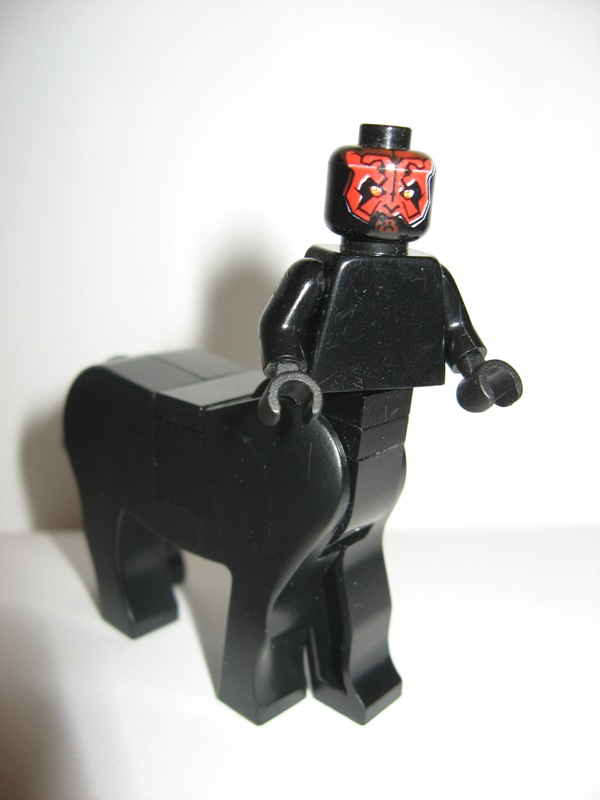
Meet the centaurs, Abusson* the Vile and Ouranon* the Valiant:
First I had to pry open the horse halves. The two halves are very tightly joined (by a friction non-glued fit). I typically pry them apart by working on the legs first (you can get your fingers around the legs to pull them apart). I then use some sort of blunt, non-sharp, non-marring tool to continue separating the pieces. The trick here is to be very careful and slow otherwise you'll put dents or scratches in the edges of the horse bodies.
Then I removed the horse head and carefully cut out the front posts (which serve to attach the horse head). One must be careful not to "force cut" the posts to remove them but to either use a small fine-tooth saw or whittle away a little bit at a time using a sharp knife. Otherwise you run the risk of cracking the horse body.
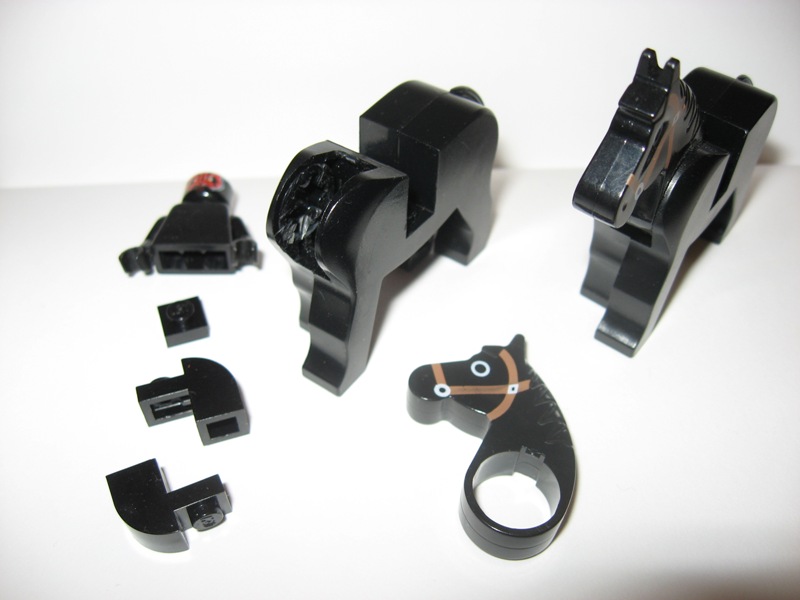
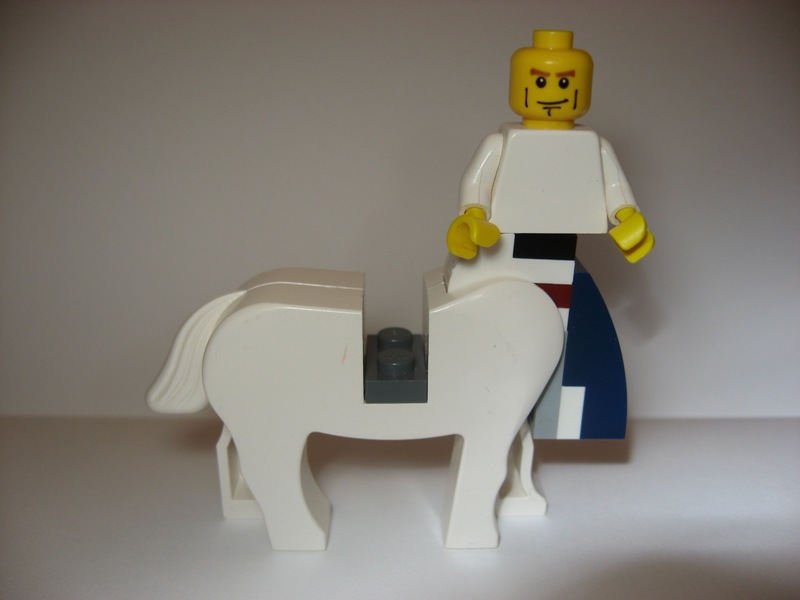
I then used two curved slopes and a plate to "fill in" the hole left by excavating the horse head and front posts, and then attached an "old" torso to the 1x1 plate. The "old torso" is necessary because it does not block the stud like the newer torsos do. One can "modify" newer torsos to accept a stud.
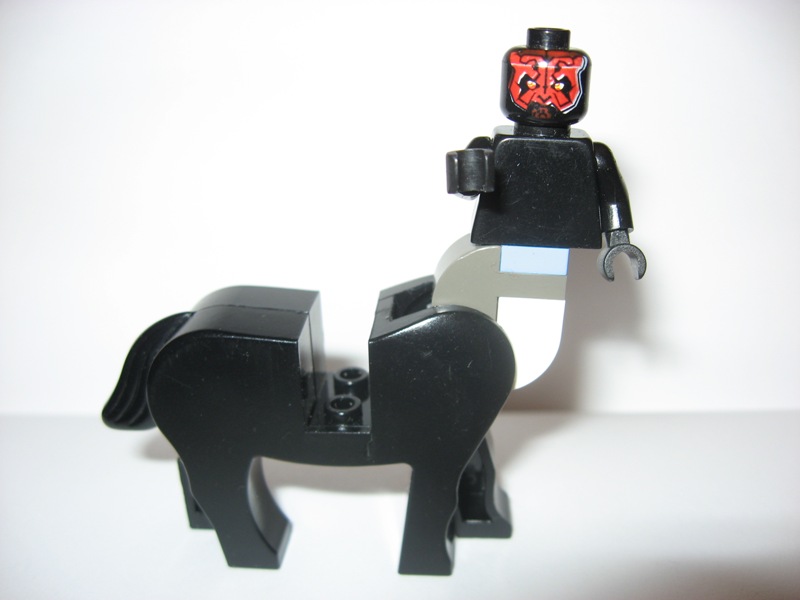
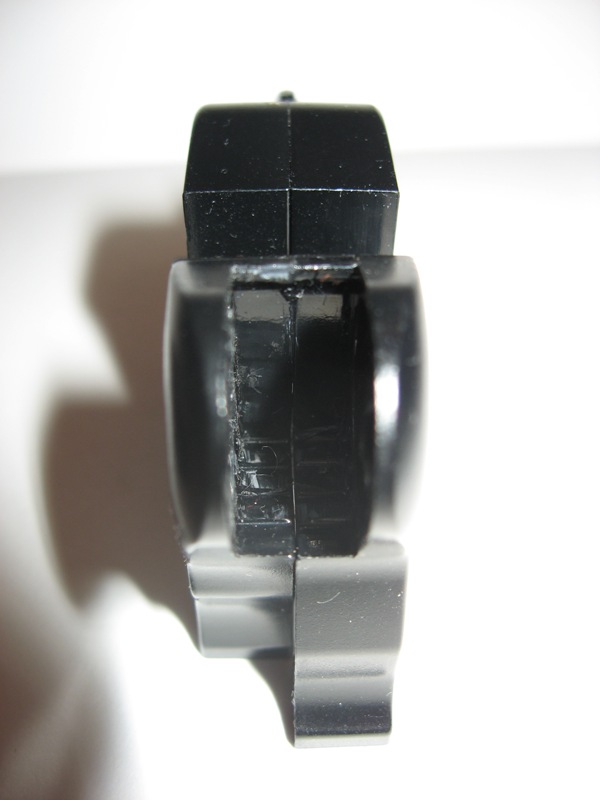
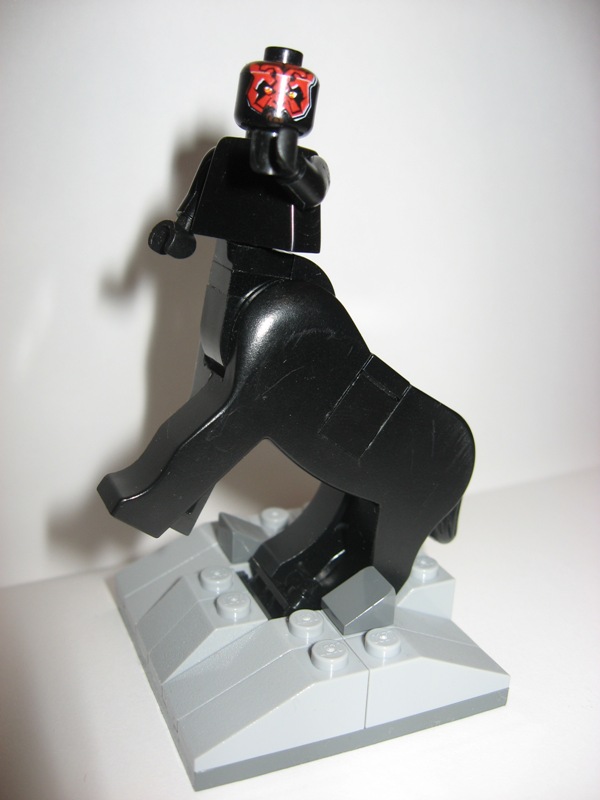
The width of the curved slopes allows for a "friction fit" that holds the two slopes together while creating a "curved" transition from the minifig torso to the horse body. I first superglued the two curved slopes together, but found that it was not necessary to do so because the slightly tight fit kept the two slopes together just fine. The friction fit also allows for the centaur to be posed in a "rampant" position because one can move the new "neck" forward. Note that the torso itself can pivot because it rests on the 1x1 plate's stud. One can remove the 1x1 plate so that the torso fits closer to the horse body, but that removes a bit of "pose-ability".
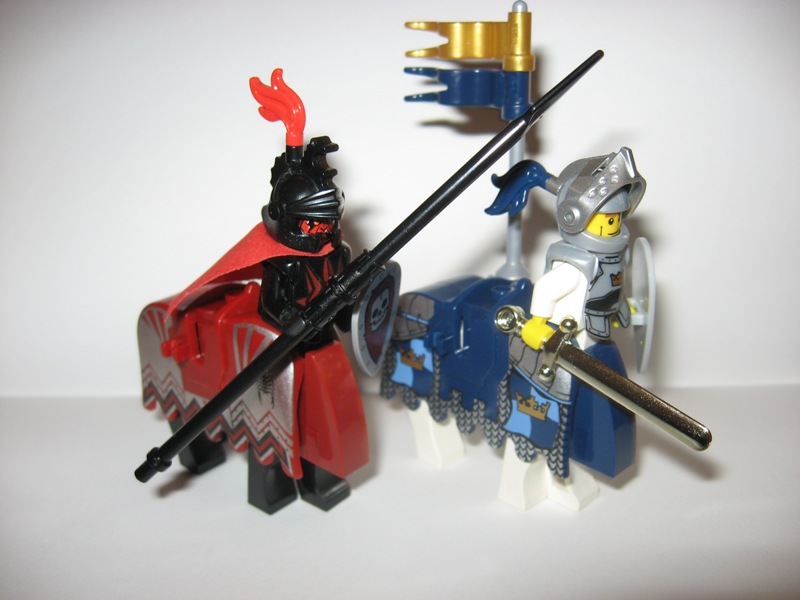
When putting on barding, some changes needed to be made. I basically "built up" the area that "filled in" the hole so that I could put the curved slope in the front to close the gap in the front of the barding. The addition of the front curved slope reduces the 'mobility' of the centaur's trunk (formerly the horse's neck).
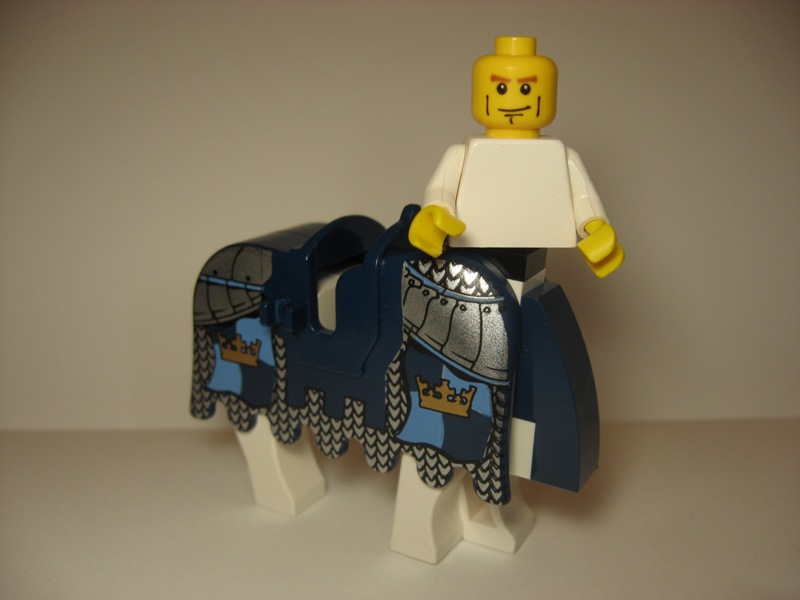
Overall, I was happy with the results. The finished product looks relatively clean, and the curves of the horse body fit relatively well with the curved slopes.
*Abusson is a form of the Greek word from which we get the term 'abyss' (αβυσσος). Abusson means "to the abyss." Ouranon is a form of the Greek word for 'heaven' (ουρανος). Ouranon means "to heaven."
custom centaur with modded horse body
Last edited by jdarlack on Sun Nov 08, 2009 10:52 pm, edited 2 times in total.
Jim Darlack
- Bruce N H
- Precentor of the Scriptorium
- Posts: 6311
- Joined: Mon Sep 15, 2003 9:11 pm
- Location: Middle Zealand
- Contact:
Re: custom centaur with modded horse body
Very cool. I'd love to see some scenes incorporating these designs.
Bruce
Bruce
[url=http://comicbricks.blogspot.com/]ComicBricks[/url] [url=http://godbricks.blogspot.com/]GodBricks[/url] [url=http://microbricks.blogspot.com/]MicroBricks[/url] [url=http://minilandbricks.blogspot.com/]MinilandBricks[/url] [url=http://scibricks.blogspot.com/]SciBricks[/url] [url=http://vignettebricks.blogspot.com/]VignetteBricks[/url] [url=http://www.classic-castle.com/bricktales/]Brick Tales[/url]
Re: custom centaur with modded horse body
Great tutorial, I'm gonna have to try this soon.
|[url=http://www.flickr.com/photos/newright/]Flickr[/url]|
- DraconisTerrena
- Apprentice
- Posts: 156
- Joined: Wed Mar 18, 2009 6:49 am
Re: custom centaur with modded horse body
Fascinating. How easy is it to remove the horse heads without damaging them?
"A warrior is always joyful because his love is unalterable and his beloved, the earth, embraces him and bestows upon him inconceivable gifts."
-- Don Juan, Tales of Power by Carlos Castaneda
Re: custom centaur with modded horse body
Well, the horse head comes right off once the halves of the body are pried apart. Prying the halves apart is the trick though! The two halves are very tightly joined (by a friction non-glued fit). I typically pry them apart by working on the legs first (you can get your fingers around the legs to pull them apart). I then use some sort of blunt, non-sharp, non-marring tool to continue separating the pieces. The trick here is to be very careful and slow otherwise you'll put dents or scratches in the edges of the horse bodies.DraconisTerrena wrote:Fascinating. How easy is it to remove the horse heads without damaging them?
The "horse head" just comes off the front post that connect the two halves very very easily. When you remove the front post, you are of course, "damaging" (well, modifying) the horse body, and you will not be able to join the horse head to the horse body any longer.
Jim Darlack
Re: custom centaur with modded horse body
I made a couple of centaurs in a very similar way, and it works very effectively. However, this design is superior to the one I used, thanks for posting it.
Re: custom centaur with modded horse body
Heating up the Horse with a blow dryer or in a pot of hot water helps immensely in separating the pieces.DraconisTerrena wrote:Fascinating. How easy is it to remove the horse heads without damaging them?
-A